Lesson 6: Intro to Project templates
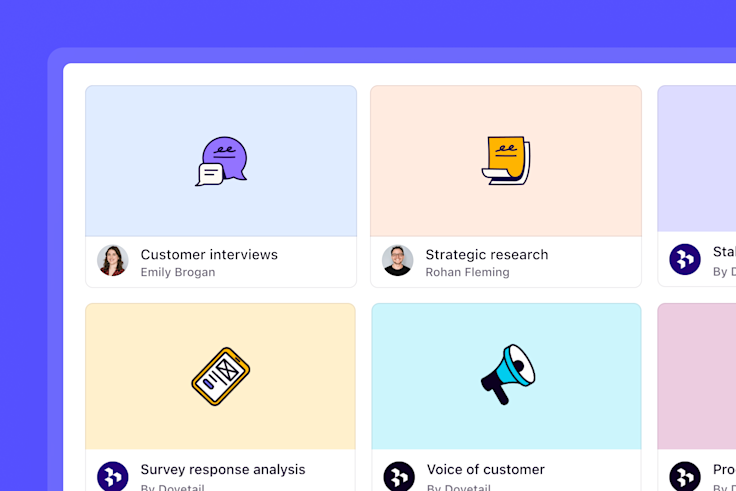
We know that researchers are responsible for the quality of research in an organization, and that can make inviting non-researchers into Dovetail stressful. One way to mitigate this is through creating templates that cement processes for repeatable projects. In this lesson, you will learn what Project templates allow you to capture, how to create a template for your team, and how to ensure templates stay consistent across your team.
What are project templates?
In Dovetail, templates are essential to setting your team up for success with Projects. There are a few reasons why you might consider setting up templates for your team:
Add structure to repeatable processes – They're useful for teams—such as Research or Design—that often need to work with a structured analysis process. Typically, teams will create templates for making sense of customer interviews and usability tests.
Easy for everyone to get started – Templates streamline the creation process for those using Dovetail for the first time, with pre-filled structures and properties.
Grow a scalable and cohesive insights hub – Templates help you set the standard for the quality of insights created by your organization. We recommend populating a project template with workspace tags and workspace fields, rather than project tags and fields, to ensure related data is connected across your workpace.

Create your first project template
Using templates helps ensure the quality of your team's outputs and standardize research across your organization.
To create a project template, open ⚙️ Settings → Templates → + New template.
From there, populate the template to include a title, information on how to use the template on the readme page and a starting set of data, tags, and/or fields.
Once completed, the template will appear as a new option for your team to start a new project under Projects → Create new → Project from template.
We recommend populating a project template with workspace tags and workspace fields, rather than project tags and fields, to ensure related data is connected across projects.
Assign owners to your project templates
To ensure your templates are maintained, we recommend assigning owners and using Share settings to assign the appropriate access level so the right people can manage and make changes when necessary.
To do this, open the template, navigate to Template settings → Share and assign View only access to the workspace.
From there, you choose to invite other team members to share Full access or Edit access to the template.
Any manager or contributor with View only access to the template can still use this to create a new project in the workspace.
🎓 Homework
Consider how you might get the most out of project templates. Explore examples of project templates from our Community or get started creating a template for your team in the workspace.
Create a templateNext lesson

Apply: Create a project template for customer interviews
Apply what we've learned to build a project template for conducting customer interviews.
Last updated: 18 February 2025