See all of your highlights in a spreadsheet-like view
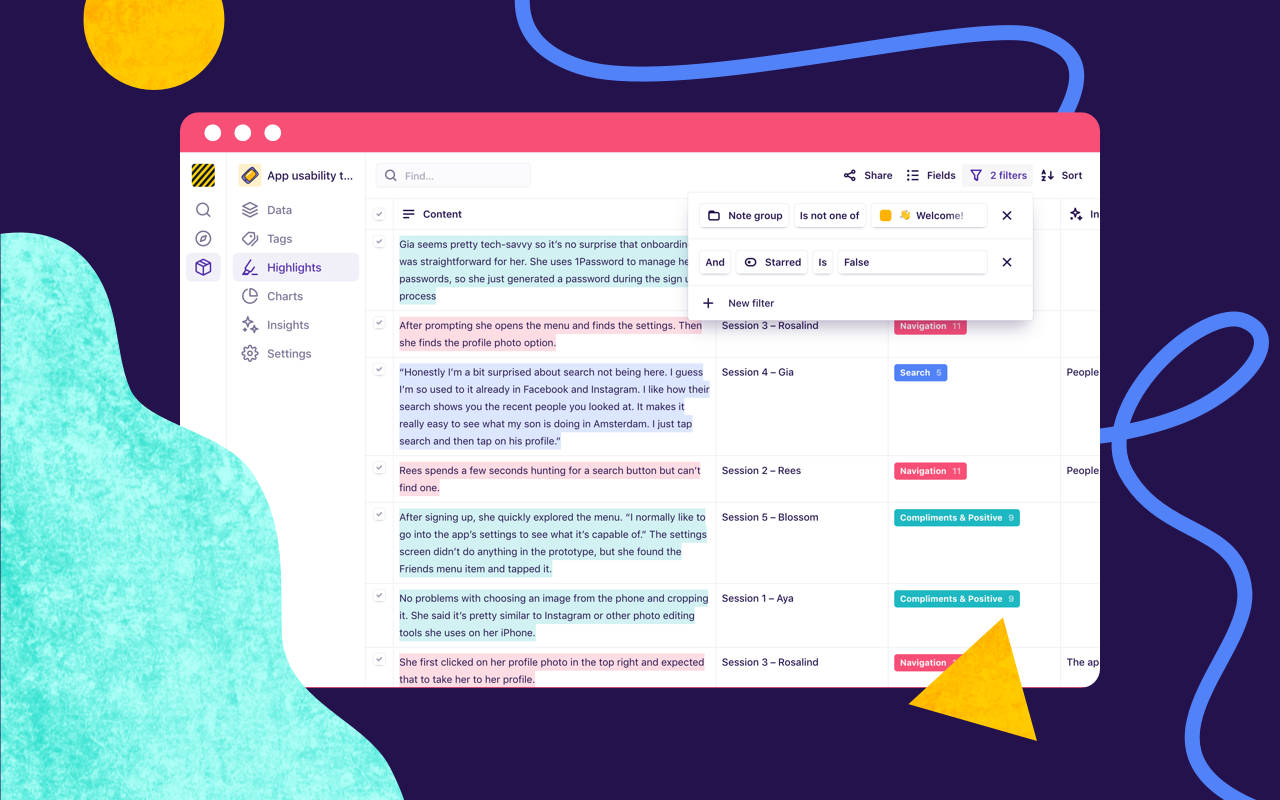
Highlights are now surfaced in a single view inside a project. This enables you to refactor, organize, and interpret your highlights and tags across interviews, participants, survey answers, NPS responses, and any other unstructured data set.
Previously, you’d need to jump into individual tags to see highlights. Now, you can easily conduct a ‘second-pass’ analysis across all highlights in one place.
With powerful filtering, sorting, and customization options, our new highlights table makes it easy to segment your data from analysis and crystallize findings into insights.
Filter and sort highlights
By default, the highlights table shows all highlights within the project, across tags. You’ll also see highlights here that are tagged with workspace tags.
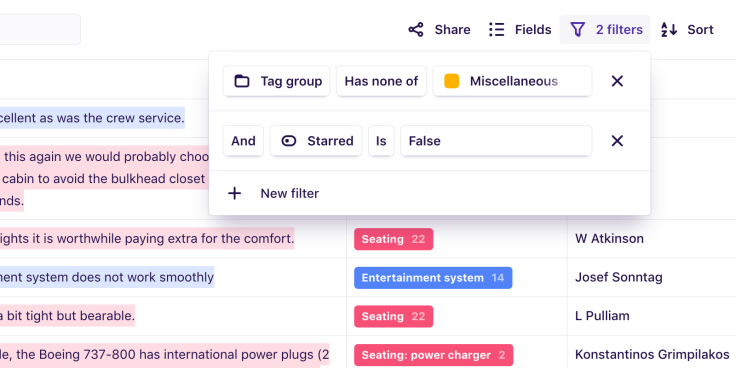
Filter rules let you segment highlights on various dimensions. For example, you could only show highlights on certain notes in a specific note group, or only show highlights that don’t have an associated insight. Filtering is one way to create a ‘triage’ workflow to ensure that every highlight has an associated insight.
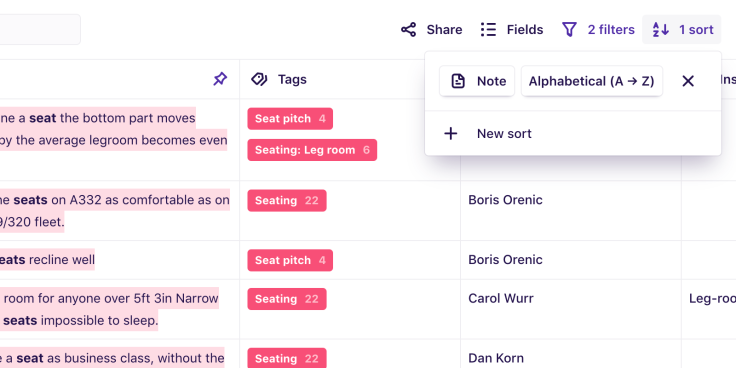
Sort rules let you order highlights. For example, you could sort highlights by the date they were created to work in a chronological order, or sort by the note they’re on.
Edit highlights inline
Some columns on the highlights table are inline editable.
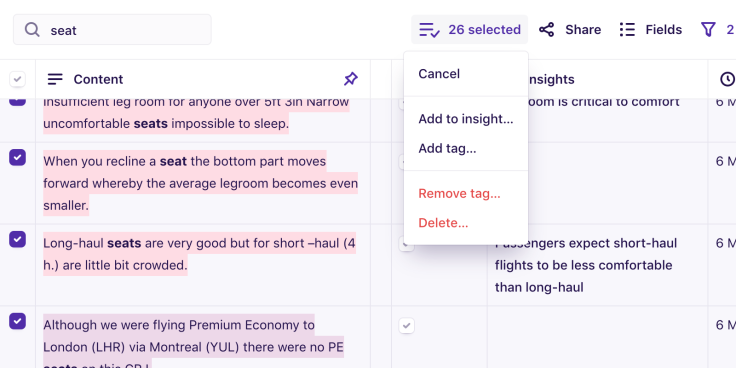
Change the tags on a highlight, toggle whether a highlight is starred or not, and modify the associated insights, including creating new insights on the fly.

You can also change multiple highlights at once in bulk edit mode. Simply select multiple highlights with the checkbox. Hold Shift and click a checkbox to select a range.
Pin, reorder, resize, and toggle columns
Control which columns are visible in the table in the Fields menu. You can also reorder columns by dragging and dropping them in the fields menu.
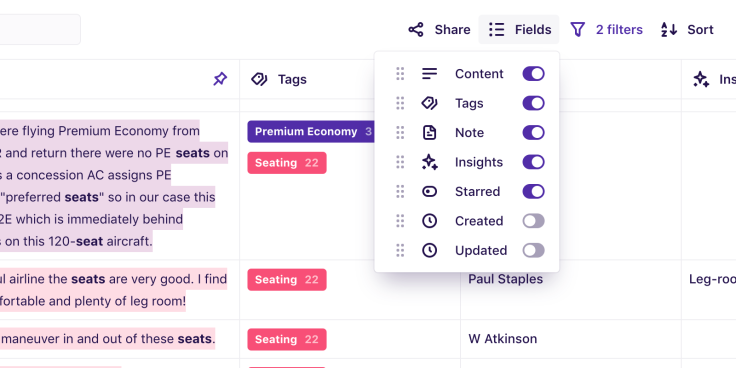
Pin columns by clicking the pin button. Resize columns by dragging the vertical line at the top of the table, in the column header.
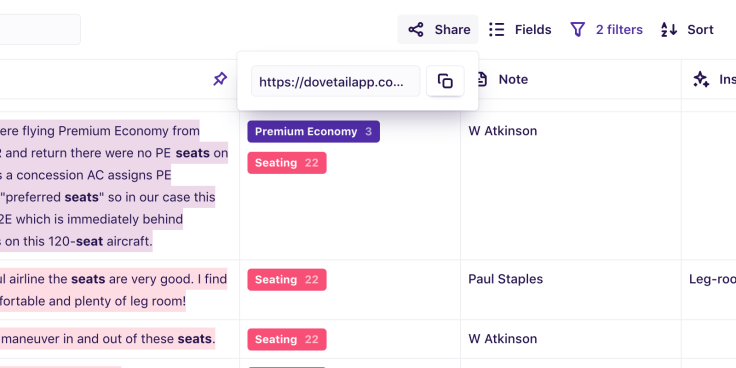
Filter rules, sort rules, and column configuration are all persisted in the URL. Share an exact view with other people by clicking Share and copying the URL to the clipboard.
Start using the highlights table today
The highlights table is available to all customers now! Just click Highlights in the project sidebar to get started. We’d also love to hear your feedback on this feature. You can submit feedback in-product, in our Slack workspace, or by contacting our support team.


